
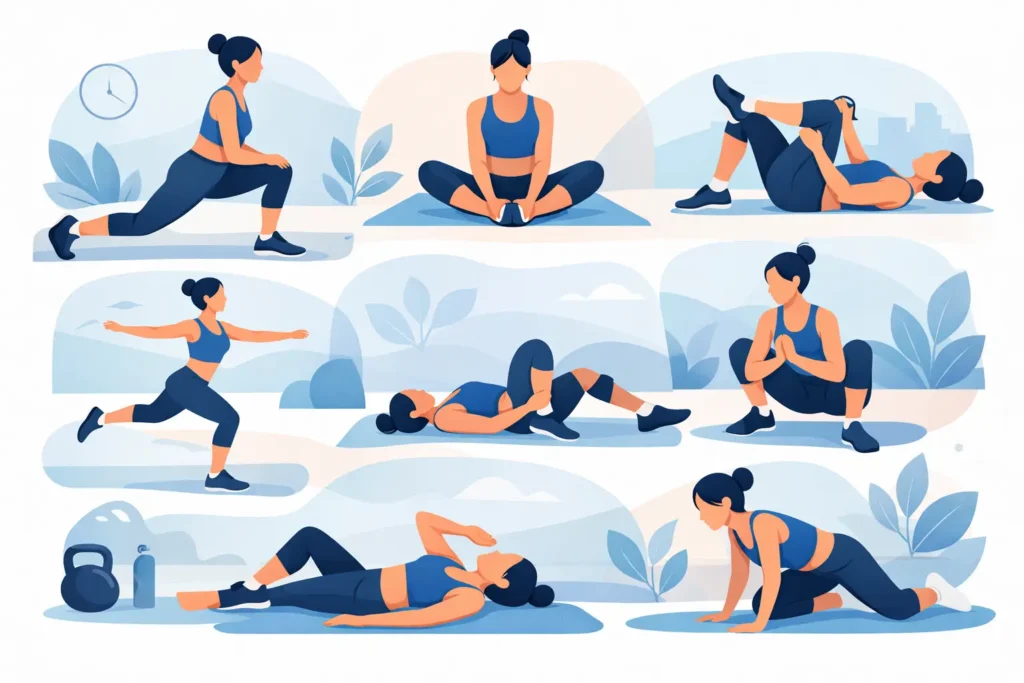
Sitting for long periods, getting back into running after winter, climbing stairs with discomfort, or bending over to tie your shoes: the hip is involved in almost every everyday movement. If you’re looking for hip mobility exercises, the goal isn’t to force the joint to move further at any cost. Rather, it’s about regaining comfortable, controlled movement that’s suited to your situation.
A feeling of stiffness can result from a lack of movement, but also from overexertion during exercise, muscle weakness, a back problem, or irritation of the joint itself. The exercises suggested here are suitable for many people, provided they remain comfortable to perform. Sharp pain, stiffness, or pain that increases significantly after the session warrants an evaluation by a professional.
Why is it important to work on hip mobility?
Hip mobility refers to the joint’s ability to move easily in several directions: bending the thigh, moving it to the side, rotating it inward or outward, and moving it backward. It depends on the joint, the muscles surrounding it, the coordination of the pelvis and lower back, and your tolerance for exertion.
A hip with limited mobility can affect the way you walk, squat, or exercise. The body sometimes compensates by putting strain on the lower back, the knee, or the other leg. This doesn’t mean that all knee or back pain comes from the hip, but improving mobility in that area can help distribute the strain more evenly.
Consistency is more important than intensity. Five to ten minutes, three to five times a week, often yields better results than an occasional long session aimed at vigorously stretching a stiff area.
Before you begin your hip mobility exercises
Choose a time when your muscles are already slightly warmed up, such as after a few minutes of walking. Breathe normally and aim for moderate tension, not pain. You may feel a stretch in your glutes, groin, or the front of your thigh—this is normal. However, if you experience a pinching pain in your groin, a feeling of instability, or sharp, shooting pains, you should reduce the range of motion or stop the movement.
If you have recently undergone hip surgery, are in rehabilitation following a fracture, or have received specific instructions from your doctor or physical therapist, follow this care plan first. Certain movements may need to be adjusted depending on the procedure and stage of recovery.
8 Simple Exercises to Add to Your Routine
1. Tilting the pelvis backward
Lie on your back with your knees bent and your feet flat on the floor. Exhale gently as you lift your lower back slightly off the floor, without clenching your glutes too tightly. Then return to a neutral, comfortable position. Repeat 8 to 12 times.
This movement prepares the pelvis and often helps reduce lower back stiffness before you move your hips more. It is especially helpful if you spend long hours sitting.
2. Knee to chest, one leg at a time
While still lying on your back, bring one knee toward your chest, holding it behind your thigh or on your shin. The other leg can remain bent if that’s more comfortable for your back. Hold the position for 20 to 30 seconds on each side, twice.
Don’t try to press your thigh against your stomach. The ideal range of motion is one that allows you to breathe calmly without causing any pinching at the front of your hip.
3. Seated Hip Rotation
Sit near the edge of a stable chair with your feet flat on the floor. Without moving your pelvis, gently move one foot outward, then return it to the center. Keep your knee in roughly the same position. Do 8 to 10 repetitions on each side.
This exercise targets hip rotation, a range of motion that is often limited in people who work sitting down or who experience discomfort when turning while walking.
4. Hip Stretch in All-Fours Position
Get on all fours, with your hands under your shoulders and your knees under your hips. Keep your knee bent and slowly open one thigh to the side, then return to the starting position without letting your torso twist excessively. Do 8 repetitions on each side.
The goal is to move the hips without transferring all the movement to the lower back. A small, well-controlled range of motion is preferable to a large movement in which the pelvis shifts significantly.
5. Hip Flexor Stretch in a Short Lunge
Place one knee on the floor on a cushion and the other foot in front of you. Stand up straight, then gently push your pelvis forward until you feel a stretch in the front of the hip of the leg on the floor. Hold for 20 to 30 seconds, twice on each side.
Avoid arching your back too much. Instead, gently tuck your pelvis in and keep your ribs above your pelvis. This adjustment usually makes the stretch more precise and comfortable.
6. 90-90 rotation on the ground
Sit on the floor with both knees bent. Let your knees fall to one side, then slowly shift them to the other side, keeping your buttocks on the floor as much as possible. Use your hands behind you for support if necessary. Perform 6 to 10 slow repetitions.
The 90-90 position works on several ranges of motion at the same time. It can be challenging at first. If the movement causes pain in your knee or groin, reduce the range of motion or choose an easier exercise.
7. Assisted squat with support
Hold onto a countertop, a railing, or the back of a sturdy chair. Lower yourself into a partial squat, keeping your heels on the floor, then return to the starting position. Do 8 to 12 slow repetitions.
This support allows you to explore hip flexion with greater confidence. You can adjust the depth based on your comfort level. For some people, a very deep squat can cause discomfort in the front of the hip; in that case, a moderate range of motion is perfectly acceptable.
8. Controlled Glute Bridge
Lie on your back with your knees bent and your feet flat on the floor. Gently push through your heels to lift your pelvis. Hold for a moment, then lower yourself slowly. Repeat 8 to 12 times.
The bridge doesn’t just build glute strength. It also helps you better control hip extension, which can complement stretching exercises for the front of the thigh. Keep the movement comfortable and avoid lifting your hips so high that your lower back arches.
How to Make Progress Without Straining Your Hip
Start with four or five movements that feel easy to you. After one to two weeks, you can slightly increase the number of repetitions, the duration of the positions, or the range of motion—but not necessarily all three at once. The next day, your hip may feel a little sore, especially if you’ve just resumed exercising. However, pain that persists, worsens, or interferes with your walking is a sign you shouldn’t ignore.
Mobility alone does not address all needs. If your goal is to resume hiking, running, physical work, or a sport, a comprehensive program will often include strengthening your glutes, thighs, and core, as well as a gradual return to your activities. The right balance depends on your current fitness level, your medical history, and what you hope to achieve.
When should you see a doctor for hip pain?
Make an appointment with a healthcare professional if the pain occurs after a fall or accident, if you are unable to put weight on your leg, or if your hip is red, warm, and swollen. You should also seek medical attention if your symptoms are accompanied by severe nighttime pain, a fever, significant numbness, or unusual weakness.
For more gradual discomfort that doesn’t improve despite a few weeks of tailored exercises, a physical therapy evaluation can help identify what is limiting your movement. The physical therapist will observe your gait, mobility, strength, and the movements that trigger your symptoms. They can then adjust your exercises, recommend manual therapy when appropriate, and develop a realistic plan for your work, leisure activities, or sports.
A mobile hip doesn’t have to be extremely flexible. Above all, it should allow you to move with confidence during the activities that matter to you. Start slowly, pay attention to your body’s signals, and seek guidance if the pain becomes too much.